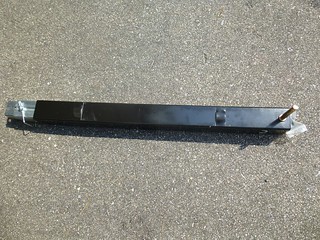
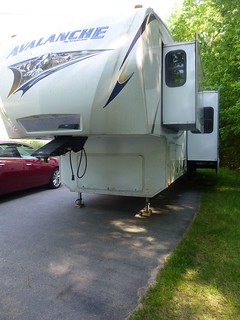
Ava has been limping along with her one good leg and a temporary stump leg after her right leg broke. It has actually worked out fine but takes more time. Her replacement leg arrived at the UPS store near our campground at Wompatuk State Park and we barely arrived in time to pick it up before they closed.
The part came with zero instructions so all I had to study was the video from loveyourrv.com. The confusing part was how the motor attaches to the leg.
I decided I’d just have to dig in to figure it out as I go. To do the work I needed the weight off the landing gear and so the Beast would be tasked with holding up Ava during the surgery. We were heading to Steph’s aunt and uncle’s house to hopefully driveway surf so I figured that would be a good time to do the work; right after arrival at their house. This way we could use their house while Ava was in the OR.
We arrived and I actually impressed myself backing into their 100 yard long driveway and placing the rig in its resting spot with only a minor adjustment at the end.
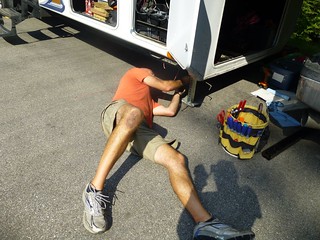
First task was to empty the compartment so I’d have space to work in there. Next I took off the connecting rod between the 2 legs. And then the motor. I thought it should just pull off but it would come off a bit and then stop. After many tries I did what the loveyourrv fella did and pushed out the pin in the beveled gear and that released the motor along with the drive shaft of the old leg.
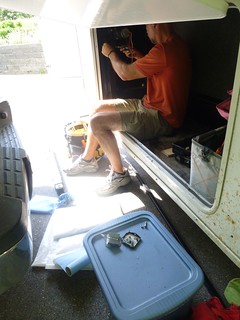
The new leg came with its own drive shaft so I needed to pull the old drive shaft out of the motor. The old shaft was boogeredup which was keeping the shaft from sliding out of the motor. I did not have a file but our hosts did! I filed down the high spots and used a little whos-yer-daddy with the hammer to get it out.
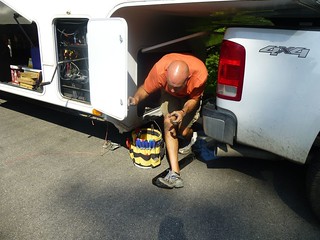
I took the foot off the old leg and and was able to complete the amputation with the removal of just a couple bolts. Then the new leg slipped right in, motor slid on the shaft ok and the connecting rod hooked up without issue. A quick hand crank test passed as well as a motor test. I reattach the foot and then realize the holes for the lower leg extension are on the wrong side. To fix this we simply need to pull the lower leg completely out, rotate 90 degrees and reinsert. Bad news is, this cannot be done in place so I have to take it all apart.
After the fix and reassembling I realize the foot will now be pointing the wrong way. I don’t want Ava to have an awkward foot so I decide to use the old lower leg section in the new leg. That meant disassembling and reassembling one more time.
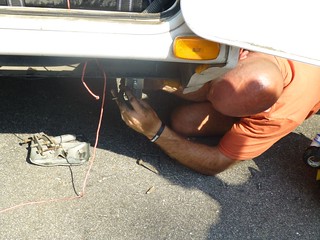
But, you know what? It all worked and Ava is back to having two normal legs!
In case you want to see all the pictures of the day the leg broke and today’s repair in one album you can check them out here.
Oh my, what a job! So glad you are such a do it you selfer and figure it outer!